
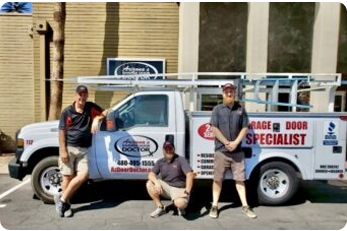
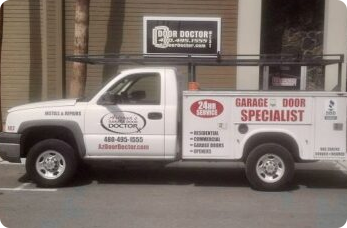
Your Trusted Garage Door Company in the Phoenix Area
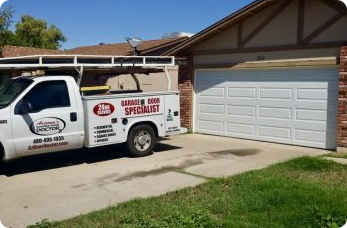
Whether you need a broken spring replaced in Scottsdale, a new garage door installed in Chandler, or an automatic electric gate repaired in Paradise Valley, Arizona’s Garage Door Doctor has you covered. We dispatch experienced, licensed technicians from our two offices in Tempe and Gilbert to serve the entire Phoenix AZpolitan area — with no extra fees based on your location.
Every city we serve gets the same commitment: expert technicians, honest pricing, lifetime warranty options on springs, and fast response times. Select your city below to learn more about our services in your area.
PRIMARY SERVICE AREAS
Cities We Serve
We Also Serve These Communities
Beyond our primary service cities, our technicians regularly service homes and businesses across these Phoenix-area communities. Same great service, same fair pricing — no matter where you are in the Valley.
AVAILABLE ACROSS ALL SERVICE AREAS
Our Services
Every city we serve has access to our full range of garage door and automatic gate services.
Our licensed technicians arrive equipped to handle any job.
OUR OFFICES
Dispatching From Two Convenient Locations
We dispatch technicians from our Tempe and Gilbert offices, giving us fast coverage across
the entire Phoenix AZ. Most areas receive same-day service.
Tempe Office
1020 E Vista Del Cerro Dr
Tempe, AZ 85281
Phone: 602-495-1555
Hours: 7am – 7pm, 7 days a week
Gilbert Office
1166 E Warner Rd, Suite 101
Gilbert, AZ 85296
Phone: 602-495-1555
Hours: 7am – 7pm, 7 days a week
COMMON QUESTIONS
Frequently Asked Questions About Our Service Areas
We serve the entire Phoenix metropolitan area including Phoenix, Scottsdale, Mesa, Tempe, Chandler, Gilbert, Glendale, Peoria, Surprise, Goodyear, Avondale, Buckeye, Queen Creek, Fountain Hills, Paradise Valley, Apache Junction, Litchfield Park, El Mirage, and surrounding communities like Ahwatukee, Arcadia, Anthem, and DC Ranch. If you are in the greater Phoenix area, we can most likely help you.
No. We do not charge extra service fees based on your location within the Phoenix AZ area. Our pricing is the same whether you are in central Phoenix or in outlying areas like Queen Creek, Buckeye, or Fountain Hills.
We offer same-day service for most locations across the Phoenix AZ. Our technicians are dispatched from our Tempe and Gilbert offices, and typical response times range from 1 to 3 hours depending on your location and current demand. We are available 7 days a week from 7am to 7pm.
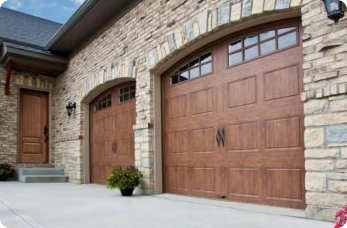
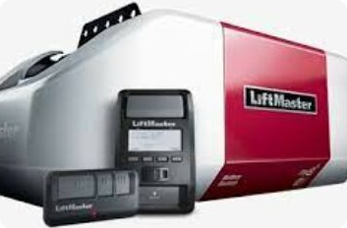
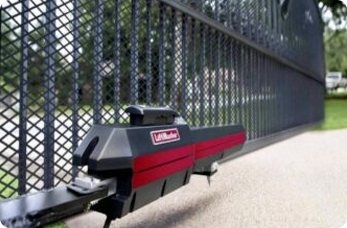
We provide garage door repair (springs, cables, panels, rollers, tracks), new garage door installation from brands like Amarr, Clopay, and Wayne-Dalton, garage door opener repair and installation (LiftMaster, Chamberlain, Genie), and automatic electric gate installation and repair for swing gates, sliding gates, and bi-fold gates. We service both residential and commercial properties.
Yes. We work with homeowners, property managers, HOAs, and commercial businesses across the Phoenix AZ area. We offer dedicated services for property managers who need a reliable garage door company for their portfolio of rental properties. Visit our property manager services page to learn more.
Ready to Get Your Garage Door Fixed?
Call us or schedule online. Same-day appointments available across the
Phoenix AZ — no extra travel fees, ever.