
4.9
SURPRISE, ARIZONA
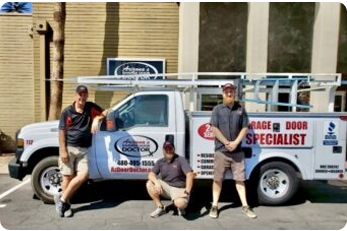
Trusted Garage Door Company Serving Surprise
Surprise has grown from a small retirement community into one of Arizona’s largest cities, with a population now exceeding 150,000. That growth means thousands of newer homes across communities like Asante, North Copper Canyon, and Sterling Grove — each with garage doors that will eventually need maintenance, repair, or replacement. It also means older communities like Surprise Farms and Sun City Grand are reaching the age where original garage door springs and openers are wearing out.
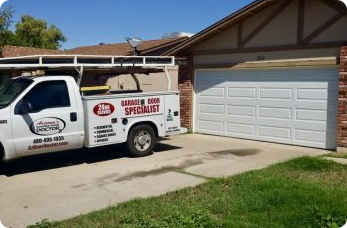
Arizona’s Garage Door Doctor has been serving Surprise homeowners for over 25 years. We handle everything from a single broken spring to a complete garage door replacement, and our technicians arrive stocked with common parts to complete most repairs in one visit. No wasted trips, no waiting for parts to be ordered.
Surprise has a significant number of 55+ and active-adult communities, including Sun City Grand and Arizona Traditions. We understand the needs of these neighborhoods — quieter belt-drive openers that won’t disturb neighbors, low-maintenance door options, and hardware that’s easy to operate. If you’ve been struggling with a heavy garage door or a noisy opener, we can recommend solutions designed for comfort and ease of use.
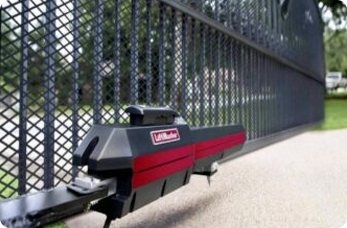
We also install and repair automatic electric gates across Surprise. Whether you need a new driveway gate for added security or your existing gate motor has stopped working, we service swing gates, sliding gates, and bi-fold gates from brands like LiftMaster, Viking, and DKS.
WHAT WE OFFER IN SURPRISE
Garage Door & Gate Services for Surprise Residents

COVERAGE ACROSS SURPRISE
Surprise Neighborhoods We Serve
We service every neighborhood in Surprise. Whether you’re in a newer development or an
established community, our technicians know the area and arrive prepared.
GARAGE DOORS IN SURPRISE’S CLIMATE
What Surprise Homeowners Should Know About Their Garage Door
Surprise sits in the northwest Valley where summer highs routinely exceed 110°F and the mercury drops into the 40s during winter nights. That 70-degree daily swing puts repetitive stress on the metal components of your garage door system — particularly the torsion springs, which expand and contract with each temperature cycle. Over the years, this thermal fatigue causes springs to snap, often without warning. If your springs are more than 7-8 years old, it’s worth having them inspected before they fail at the worst possible time.
The intense UV exposure in the northwest Valley also degrades rubber weatherseals and plastic roller components faster than you might expect. A deteriorated bottom seal lets dust, insects, and heat seep into your garage, while cracked rollers create the grinding or squealing sounds many Surprise homeowners notice as their door ages. Both are straightforward repairs our technicians handle routinely.
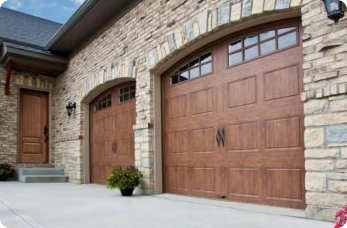
For homeowners building or buying in one of Surprise’s newer communities, insulated garage doors are a smart investment. An insulated door helps keep your garage 10-20 degrees cooler in summer, which protects stored items from heat damage and eases the burden on your home’s cooling system — especially relevant if your garage shares a wall with your living space or if you use part of the garage as a workshop.
THE AZ DOOR DOCTOR DIFFERENCE
Why Surprise Homeowners Choose Us
Same-Day Service
We understand a broken garage door is urgent. Most Surprise service calls are completed the same day you contact us, 7 days a week.

Upfront, Honest Pricing
We quote a price before starting any work. The number we give you is the number you pay — no hidden charges, no add-ons after the job is done.
25+ Years of Experience
We’ve been serving the Phoenix metro since before Surprise’s population boom. Our technicians have seen every make, model, and problem there is.
Licensed & Insured
Licensed, bonded, and insured. Every technician is background-checked and trained — professionals you can trust in your home.
All Major Brands
We sell and service Amarr, Clopay, Wayne-Dalton, LiftMaster, Chamberlain, Genie, and more. We repair what you have or install something new.
55+ Community Expertise
We regularly service homes in Sun City Grand, Arizona Traditions, and other 55+ communities. We understand the specific preferences and needs of these neighborhoods.
FROM OUR SURPRISE CUSTOMERS
What Surprise Residents Say
We take pride in delivering reliable, professional, and affordable garage door services.
Our customers trust us for quality work and friendly support every step of the way.
SURPRISE GARAGE DOOR FAQS
Frequently Asked Questions — Surprise
Common garage door repairs in Surprise typically range from $150 to $350, depending on the issue. This includes spring replacement, cable repair, roller replacement, and track realignment. New garage door installation starts around $800 and varies based on size, style, and insulation. We provide on-site estimates so you know the cost before work begins.
Yes. We offer same-day service for Surprise residents 7 days a week. Our technicians are dispatched from our Tempe and Gilbert offices and can typically reach Surprise neighborhoods within 1 to 3 hours depending on current scheduling.
We service all Surprise neighborhoods including Marley Park, Sun City Grand, Surprise Farms, Greer Ranch, Asante, Arizona Traditions, North Copper Canyon, Sterling Grove, Sierra Montana, Bell West Ranch, Mountain Vista Ranch, Kingswood Parke, and all surrounding areas.
Yes. Many Surprise communities like Marley Park, Sterling Grove, and Asante have HOA guidelines for garage door styles, colors, and materials. We carry doors from Amarr, Clopay, and Wayne-Dalton that meet common HOA specifications, and we can provide documentation to submit to your HOA for approval.
Absolutely. We service many homes in Sun City Grand and other 55+ communities in Surprise. We understand the specific needs of these communities, including quieter belt-drive openers, low-maintenance door options, and hardware that is easy to operate.
Do not try to open the door manually or use the opener — a garage door without working springs is extremely heavy and dangerous. Call us at 602-495-1555 and we will send a technician to your Surprise home as quickly as possible, typically the same day.
Need Garage Door Help in Surprise?
Call us or schedule online. Same-day appointments available across
Surprise — Marley Park, Sun City Grand, Surprise Farms, and beyond.